Good morning crafty friends! Claire here with a tutorial using lots of gorgeous goodies from Polkadoodles to create a mixed media canvas. First things first though, don't forget to enter our challenge ...
Anything Creative/Mixed Media Goes
we've got an awesome prize and you don't want to miss your chance to win these beauties!!


Just click here and scroll down to add your project to the linky!!
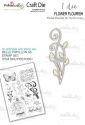
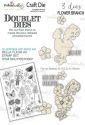
For my tutorial I've used lots of my favourite Polkadoodles products (you can find links to all the stamps, dies and the beautiful cd collection at the end of this post) to create an A4 canvas:

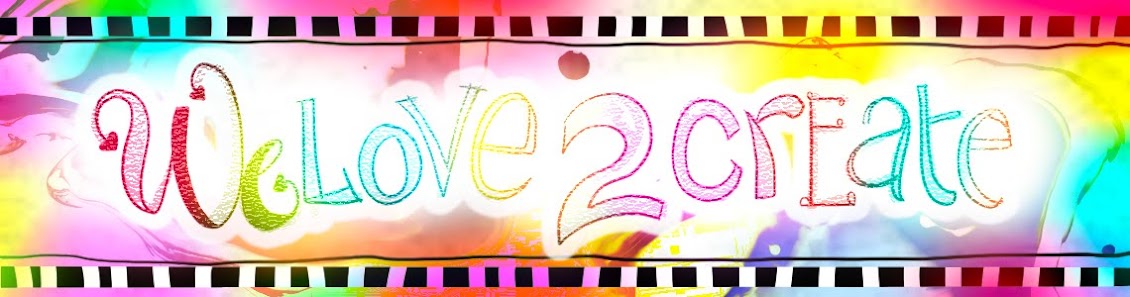
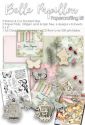
After spending a happy hour browsing through all the beautiful elements on the Belle Papillon collection I decided on my colour scheme and printed off lots of lovely goodies to use on my project. I always print sheets that I want to collage onto copy paper and for the other layers I use Ultimate Graphic 160gsm paper (link at end of post) from Polkadoodles - it's brilliant for printing on and the best card I've found for using alcohol markers too so it's also great for digistamps.

Once I'd printed everything out, I used Liquitex Matte Medium to stick the papers to my canvas board - I just tore papers and layered them up. I often use a wash of diluted white gesso at this stage but everything was fairly muted so I didn't bother on this project. Next job was to stencil in some ivy use a little green acrylic paint.

I also stencilled in some roses, again using acrylic paint, I only wanted part of this stencil so I positioned it and masked the unwanted areas with post-it notes before getting busy with the paint and a little cut'n'dry foam.

Once the paint was dry I repositioned the stencil and applied a layer of Superthick Slap it on - any 3d glossy gel medium will do for this.

Remove the stencil and sprinkle on clear microbeads - these little jokers go everywhere so I find it best to use a container to catch them rather than trying to use paper as you would with glitter/embossing powder.

While that was drying I chose the next layer of elements for my canvas. I also used the paint left on my cut'n'dry foam from the stencilling to dye some seambinding ribbon - just dab the foam in a teeny bit of water and there will be a lovely puddle of colour to swoosh the ribbon through!

Next is a bit of an assembly job using silicone glue - I didn't use all the elements I'd cut out as I didn't want to cover all the background up but I'll use them on another project. I also added ribbon and little brads to the tags I'd printed.

Next I added splatters of white pearl and gold acrylic paint, just dilute the paint with water and flick with a brush or tap the brush on another to create the splatters.

Here's a pic of the background so far, I looooooove splatters lol so tend to get carried away

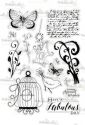
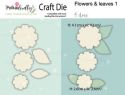
Next comes the best bit, lots of die cutting and stamping. I've used watercolour paper for this as I wanted to paint with distress inks. I find it easiest to die cut first, ink up the stamp and lay the die cut over the stamp and press with an acrylic block. The flowers are cut from Foamiran, coloured with gelatos, heated with my heatgun to shape and then layered. The butterflies were made out of lots of layers of the music sheet paper that I'd printed onto copier paper - I used 5 layers for each butterfly.

Next assemble the die cuts and add some raffia, angel hair and a few resin roses highlighted with gilding wax to finish the canvas

Thanks for visiting, I hope you've enjoyed my tutorial!!
Don't forget to enter your project in this month's challenge.
Just click here to go to the link up.
We'll be back next week to introduce our first Guest Designer!!
We're so excited!
Claire xx
 |  |  |  |  |
 |  |  |  |

Amazing piece of Art, thanks for the tutorial!
ReplyDeleteWhat a fabulous tutorial and an amazing project! Thank you for sharing! xxx
ReplyDelete